Category Archives: product

Why Buy HB Seed Co?

With so many seed options available now, you might be wondering what’s the difference between them all. A seed is a seed, isn’t it?

We don’t think so. We think there’s a lot more to consider when growing a food source for your deer. Here’s what HB Seed focuses on to help our customers get the biggest ROI from their food plots.

The Freshest Seed

Have you ever paid close attention to the label on your food plot seed? Oftentimes there is a date stating when the seed was tested and bagged. The older a seed is, the more likely it has been exposed to things like moisture and is less likely to germinate.

Speaking of germination – most people think the “germination rate” is what percentage of the seeds will grow. This isn’t the case. By USDA definition, germination only means the seed cracked, not that it turned into a plant. Keep this in mind when you see that something says it has a high germination rate. Older seeds might crack – technically germinate – but they might never emerge from the soil. Seed that is fresh will crack, grow, and be above ground in 2-3 days. This is why we only sell the freshest seed.

If you have any older or leftover seed around, try a simple DIY germination test before you waste time planting it. Take 10 seeds and fold them inside a moist paper towel, then let them sit for a few days. Check on them each day and you will see if the seeds are still viable. The older the seeds are, the fewer seeds you’ll see germinate.
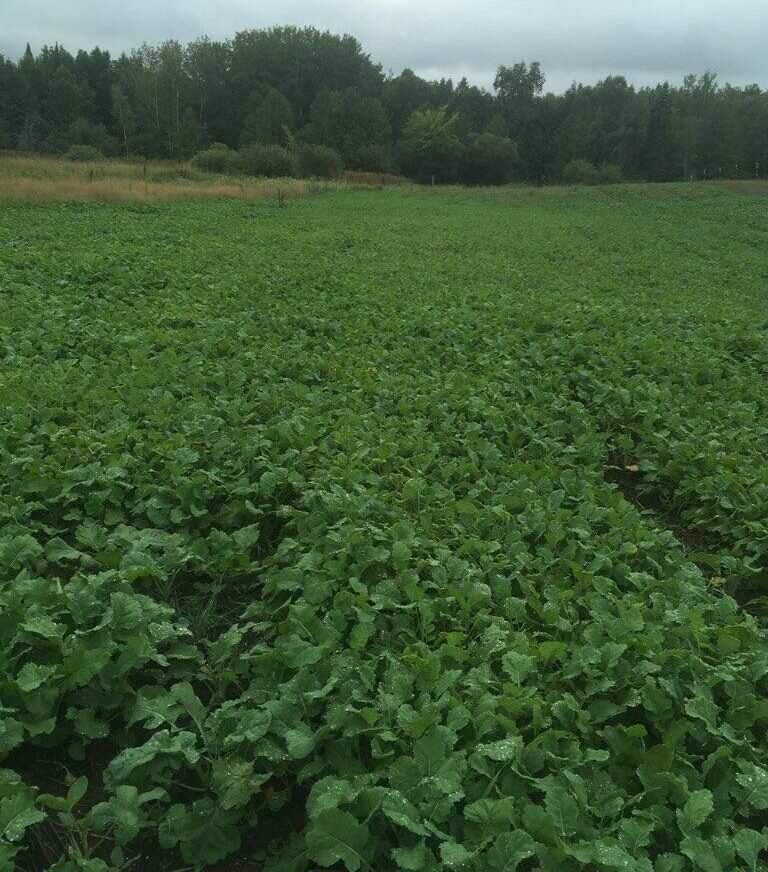
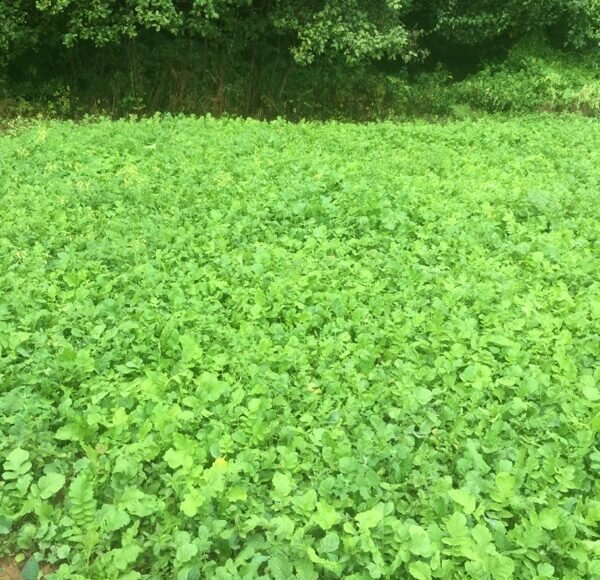
Blends

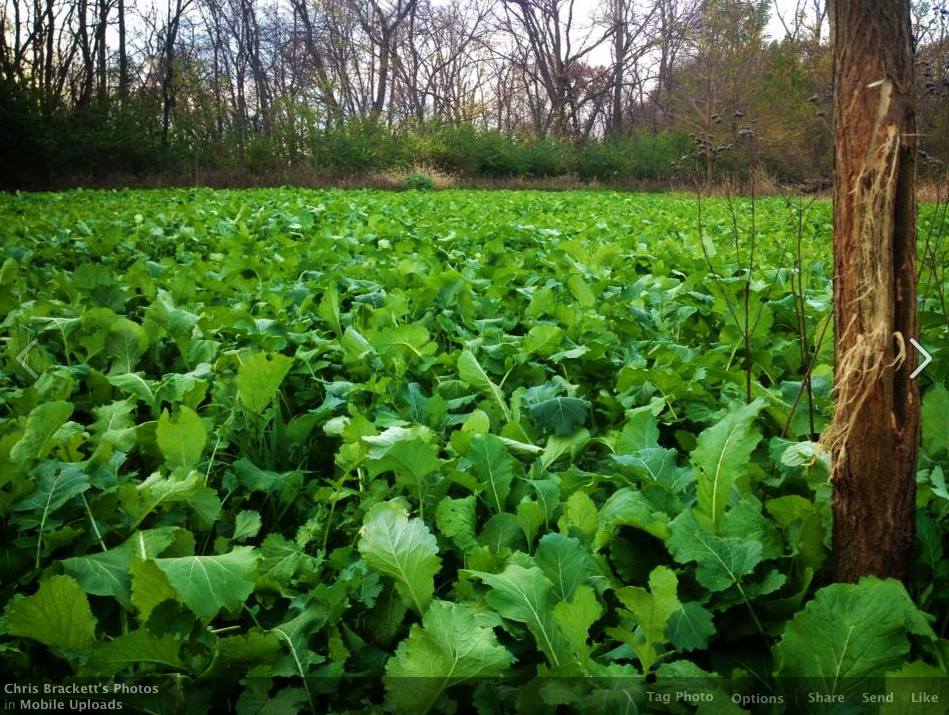
Do you like eating the same thing all day every day? Probably not. Deer are the same way. The HB Seed blends are all designed to give deer the variety they crave along with the nutrients that are most important – protein and carbs.

If you like having both spring and late summer plots, there’s another benefit specific to using perennial/annual blends. When you initially plant your plots for the fall, you can expect to have a good variety of plants come up in time for fall. Then, when spring arrives, all the perennials will sprout again, saving you time from having to plant twice.

Uncoated

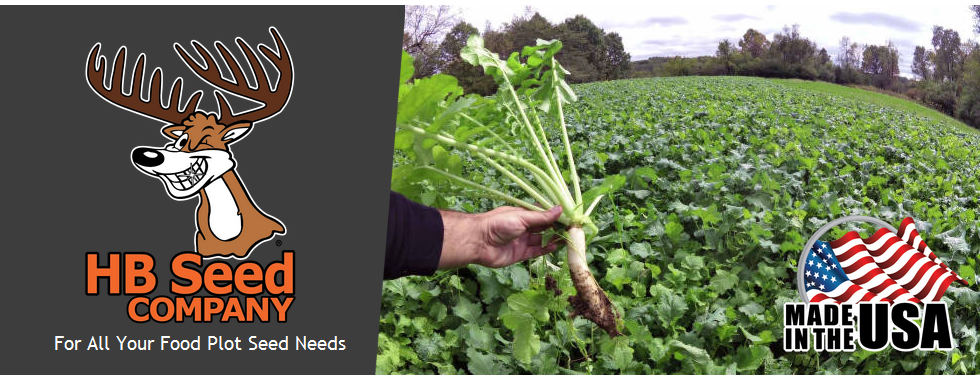
Some seed companies coat their seed. There’s nothing wrong with this – the coating is meant to give each seed a little extra nutrient boost when it first germinates.

That extra coating also takes up space in the bag, though. So, when you’re buying 4 lbs of coated seed, there’s a lot less seed in that bag than in a 4 lb bag of an HB Seed blend. Consider this when comparing seed – a 4 lb bag of our uncoated seed is likely going to cover more acreage than a 4 lb bag of coated seed. Remember this when it comes time to plant if you’ve traditionally used coated seeds in the past. The broadcast recommendations on our bags ARE correct, so beware of overseeding!

Our belief is that if you take the time to do your soil test and ensure your soil conditions are right, that will pay far more dividends than purchasing coated soil. Proper soil conditions + fresh seed = quality food plots.

Customer Service & Education

Have you ever tried to call a company’s customer service line to ask a question? If you got bounced around from agent to agent, not only did you not get helped, you probably are now going to purchase from someone else in the future, and worse, you’re probably less willing to ask for help when you have a question.

Take a look at the back of your HB Seed bag. You see the contact info listed? That’s the direct contact information for the guru himself, HB Seed owner Doug. His motto is, “When it comes to food plots, there’s no such thing as a dumb question,” and he will walk you through what you need to know. Educating the customer is the foundation of the HB Seed customer service philosophy.

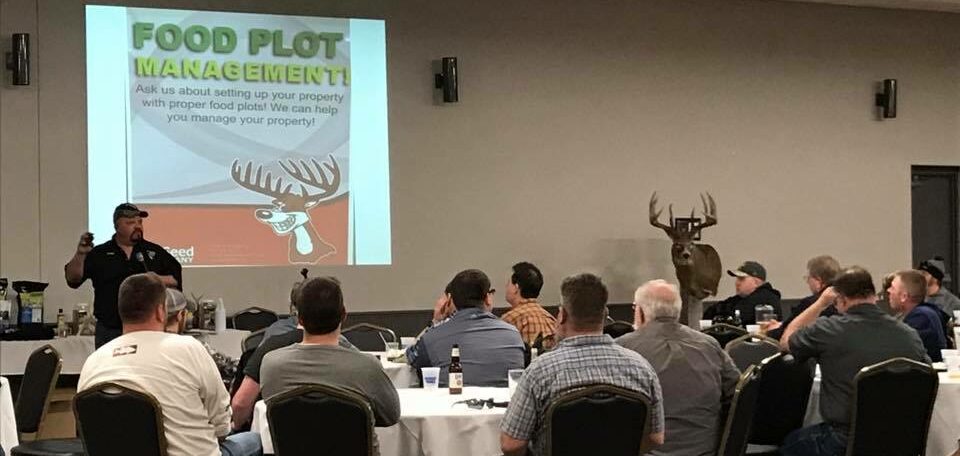
The best way to reach him? Text first. If the sun is up, he’s probably on a call. He will get back to you. You can also either email, use the form on our website, or message us on social media and we’ll work to get you an answer to your questions. You can even leave a comment right here, at the bottom of this blog!

Are you ready to see for yourself what makes HB Seed different?

Start Planning to Shoot Your Next (or First!) Booner with Booner Max Mineral

The Scoop on Mineral

Some people like to use mineral supplements to help deer survive the winter. Some just want to attract more deer to their property. And of course, everyone hopes it will help them grow bigger bucks. But not all mineral supplements are created equal. Here, we’ll breakdown some of the top factors when considering your mineral options and how to best use it.

Why is Mineral Important?

It may seem obvious, but deer are a lot like us in that they get their nutrition from what they eat. Unlike us, though, their choices are much more limited, especially in the winter months. Even with access to a variety of foods, we know that we as humans still have nutritional gaps, so we often take supplements. To help cover those nutritional gaps for deer, this is where mineral supplementation comes in.

While most people think of mineral as a way to help bucks grow bigger antlers, we take a broader-picture approach. Those big bucks start out as little bucks, which start out as fawns. By supplying high-quality mineral to your entire herd in the winter and early spring, you’re not only assisting the health of your bucks AND does; you’re also giving fawns a jump-start to their development. This will then lead to both bigger-antlered bucks this year as well as establish a great foundation for a healthier herd in the long term.

Why use Booner Max?

If you’ve purchased mineral before or looked at the ingredients, you’ve probably seen that salt is often one of the top ingredients. In fact, many people just look for salt rocks, blocks or “licks,” knowing that the salt alone will draw the deer in. While salt is important for attracting deer, it offers little nutritional value on its own. Our Booner Max mineral contains 17.5-20.5% salt content, leaving room in the bag for more important minerals like calcium, phosphorus, magnesium, potassium, and more. If you’re using mineral with over 30% salt content, you’re missing out on providing your deer with better nutrition during the critical winter months. 

Booner Max was formulated with the help of wildlife biologists and tested in controlled environments. In addition to a wide variety of minerals, Booner Max also includes sea kelp to reduce and regulate the deers’ body temperature, and probiotics to help them digest and utilize those minerals to maximum efficiency. This combination makes a major difference in deer health and antler growth. Our customers have seen as much as 30-40 inches of antler added year over year from 3 ½ to 4 ½-year-old bucks in the wild. Oftentimes bucks will produce additional tines, split tines, drop tines, and stickers galore at the base of the antlers that were not there at all in previous years. Besides bigger antlered bucks, you can expect to see a healthier-bodied herd as a whole, too.

Tips for Using Booner Max

State and local laws vary, so please be sure to check your regulations before placing mineral.

Our ideal recommendation is to locate an area near water and a bedding area. Find an old stump to pour it on/in, and pour 25 lbs at that location. Alternatively, you could simply clear any vegetation, dig a shallow hole or loosen some dirt and mix the mineral in. The amount of mineral sites is dependant on the size of your herd, but a good rule of thumb is two mineral sites for every 40 acres. To optimize antler growth, winter and early spring are the most critical times to supply mineral to your herd and is also when you will see the most mineral consumption. We recommend replenishing your mineral sites twice a year – you can replenish more often as needed. Again, laws vary from state to state and even county to county, so please be sure to check that you’re in compliance with your area’s laws before placing any mineral.

Incorporating mineral sites is a great way to enhance your current land management strategy. Are you ready to start growing the booners of the future on your property? Get your Booner Max today!

Liquid Lime: Q & A with Plot Dr.

Have you heard about Liquid Lime yet? It’s a game-changing product for food plotters. Liquid Lime from Plot Dr. is not only an alternative to hauling in bags and bags of ag or pelletized lime, it can also adjust your soil pH FAR more rapidly than other forms of lime. This is a great time and money saver for many food plotters. But with anything new, there’s a lot of questions that come along with it. We did a Q & A with Kenton from Plot Dr. to give everyone insight into how a product like this can improve the groceries your plots produce this fall.

So, what is Liquid Lime?

Liquid Lime is a micronized form of calcium carbonate (lime) suspended in a surfactant. It is no different than ag lime when we look at the chemical makeup. The difference is that in Liquid Lime, the particle size is smaller and there is better purity.

How is Liquid Lime different from other forms of lime, such as ag lime?

Lime is a mined product of the earth, so consistency tends to be a limiting factor when it comes to use of conventional lime products. Once mined, lime goes through a screening process to separate it based on particle size. When you hear the terms such as 60-69 or 80-89 that tells you the grade of lime – the higher the number, the smaller the particle size. Pelletized lime is basically ag lime that has had a polymer added to make pellets easier to use by the consumer. It also tends to have smaller particle size. Plot Dr. Liquid Lime particle size is all a consistent 2-micron particle size. With ag and pelletized lime, the larger particle sizes mean they take longer to break down in the soil; Liquid Lime’s tiny particle size means it provides almost instant results.

How do you recommend using Liquid Lime?

Liquid Lime is a product that you are going to spray onto the soil surface. So, after you have prepped and planted, you would go and spray this product over the top and let rain or irrigation move it through the soil profile. The goal is to affect the top several inches where most of our seeds are planted and where most of the roots will be occupying space.  Remember, lime is about more than just changing pH. Roots do not grow without calcium and we are supplying calcium with every application of lime. This in itself can be very beneficial for plots.  

Photo credit: Working Class Hunter

Does this work with any sprayer? Are there precautions I need to take?

This product will work in any device that sprays liquid. There are some instances where the sprayer is not set up to spray material like liquid lime because they come with small nozzles, screens or filters – typically, store bought ATV or smaller 3-point sprayers. They are designed for spraying herbicide and not liquid lime.  Removing screens and using larger nozzles will ensure problem-free spraying.

As far as procedure goes, premixing your Liquid Lime is the easiest. A 5-gallon bucket, cordless drill, and a paint mixer work very well in doing this. Fill your sprayer with the desired amount of water to cover your acreage minus about 4-5 gallons. Take a 5-gallon bucket and put about 3 gallons of water in it. Then, add your lime (we will say a gallon) and mix it up with your paint mixer or any kind of mixing device. Then add this lime slurry solution to your sprayer and you’re ready to spray.

Note from Doug: Remember to rinse your sprayer out when you’re done!

What if my soil pH is really bad? Can I use multiple forms of lime?

Yes, you can if you want. We use a term called instant gratification a lot when it comes to Liquid Lime. If you have a new plot or one you haven’t had any success growing a lush crop on and you figure out you need lime, ag lime or even pelletized lime are not going to get you the results you want in a single season. They are slower working products. A good solution may be to adjust rapidly with Liquid Lime and then supplement with ag or pell lime for extended results.

How often does liquid lime need to be applied?

It is an annual use product. Liquid Lime can adjust your pH within a matter of days, but your soil will also buffer back over time sooner.

How does the cost of Liquid Lime compare to other lime sources?

Cost is ultimately dependent on results in a lot of cases. If you have large enough plots where an applicator can come in and apply ag lime for you (10-20 acres) it is probably cheaper to go that route. If you don’t have the means of spreading ag lime and you buy pelletized lime, you will end up spending around $175-350 an acre if you use the needed amount; it’s rare anyone uses the needed amount of pel-lime because of the price. Depending on your soil needs, most people can use Liquid lime for $40-80/acre per year. 

What other benefits are there to liquid lime?

We put Liquid Lime in the hands of food plotters because it works! Using the right tool for the right job is what we tell food plotters and, in many cases, Liquid Lime is an excellent tool.  Most of us have a limited amount of time to pursue our hobbies and passions as outdoor enthusiasts. Liquid Lime helps you be efficient so you can ultimately provide a better food source for the wildlife you pursue. 

Not sure if you need Liquid Lime, or how much you might need? Best way to find out is with a soil test. You can also check out this video for more details about soil testing and the food plotting process. Thanks to Liquid Lime, it’s not too late to adjust your soil pH and get your healthiest soil – and your healthiest plots – yet!

Still have more questions? Leave a reply to this post!

Thanks again to Kenton from Plot Dr. Be sure to follow Plot Dr. on Facebook. Special thanks to Working Class Hunter for the photos. You can keep up with them on Facebook, Instagram, and a whole bunch of other places – check their website for more.