Join us March 11 at the Appleton SCHEELS for a food plot and trail camera seminar from 6 pm – 8 pm.
Registration is $10; each attendee will receive a $10 SCHEELS gift card.
Click here to register.

Join us March 11 at the Appleton SCHEELS for a food plot and trail camera seminar from 6 pm – 8 pm.
Registration is $10; each attendee will receive a $10 SCHEELS gift card.
Click here to register.
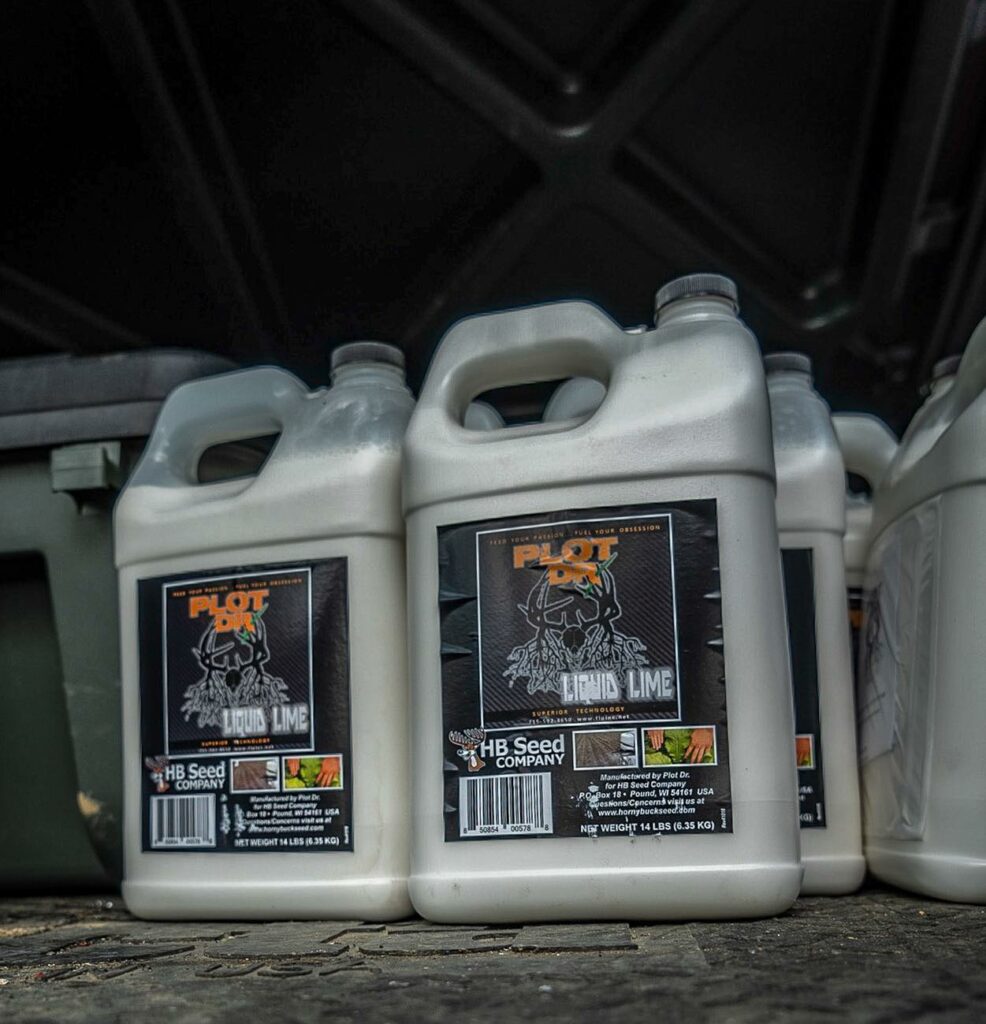
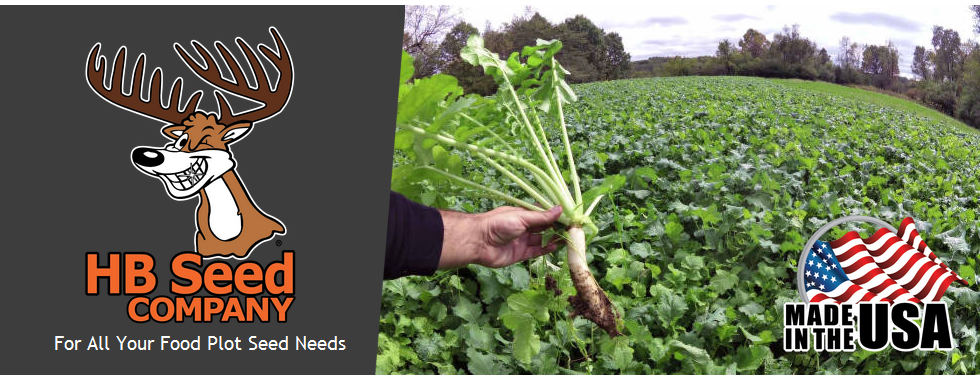
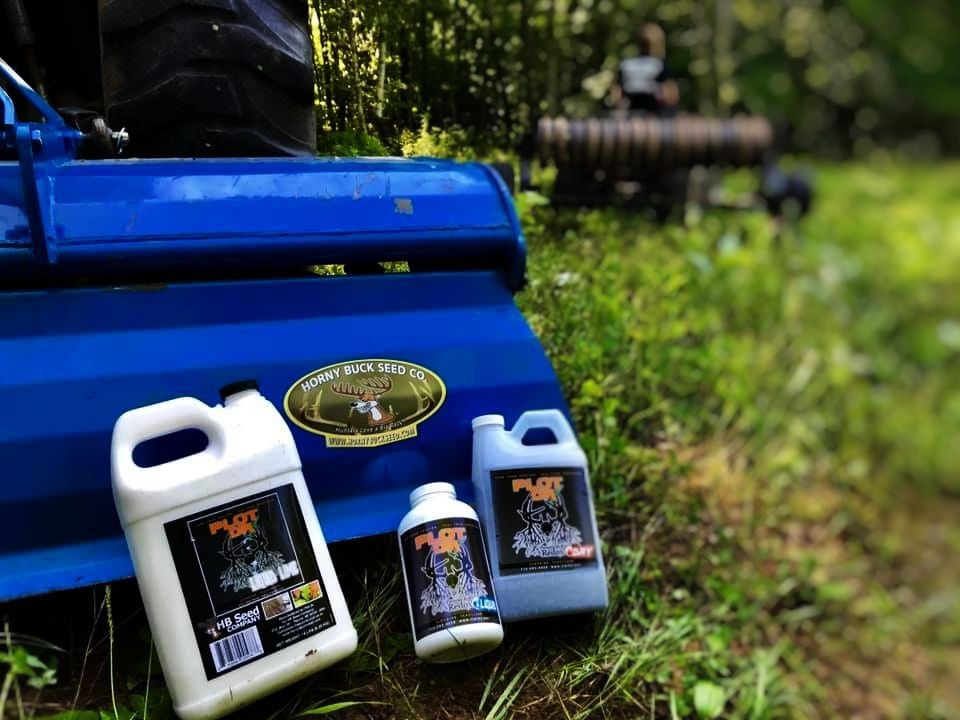
Have you heard about Liquid Lime yet? It’s a game-changing product for food plotters. Liquid Lime from Plot Dr. is not only an alternative to hauling in bags and bags of ag or pelletized lime, it can also adjust your soil pH FAR more rapidly than other forms of lime. This is a great time and money saver for many food plotters. But with anything new, there’s a lot of questions that come along with it. We did a Q & A with Kenton from Plot Dr. to give everyone insight into how a product like this can improve the groceries your plots produce this fall.
So, what is Liquid Lime?
Liquid Lime is a micronized form of calcium carbonate (lime) suspended in a surfactant. It is no different than ag lime when we look at the chemical makeup. The difference is that in Liquid Lime, the particle size is smaller and there is better purity.
How is Liquid Lime different from other forms of lime, such as ag lime?
Lime is a mined product of the earth, so consistency tends to be a limiting factor when it comes to use of conventional lime products. Once mined, lime goes through a screening process to separate it based on particle size. When you hear the terms such as 60-69 or 80-89 that tells you the grade of lime – the higher the number, the smaller the particle size. Pelletized lime is basically ag lime that has had a polymer added to make pellets easier to use by the consumer. It also tends to have smaller particle size. Plot Dr. Liquid Lime particle size is all a consistent 2-micron particle size. With ag and pelletized lime, the larger particle sizes mean they take longer to break down in the soil; Liquid Lime’s tiny particle size means it provides almost instant results.
How do you recommend using Liquid Lime?
Liquid Lime is a product that you are going to spray onto the soil surface. So, after you have prepped and planted, you would go and spray this product over the top and let rain or irrigation move it through the soil profile. The goal is to affect the top several inches where most of our seeds are planted and where most of the roots will be occupying space. Remember, lime is about more than just changing pH. Roots do not grow without calcium and we are supplying calcium with every application of lime. This in itself can be very beneficial for plots.

Does this work with any sprayer? Are there precautions I need to take?
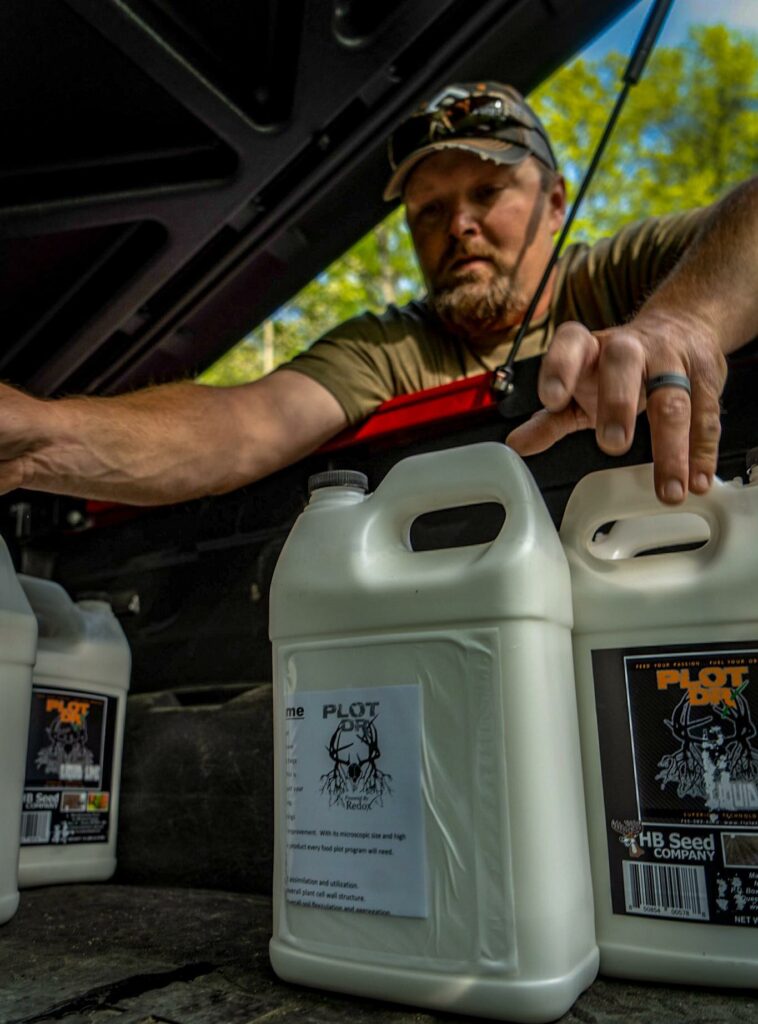
This product will work in any device that sprays liquid. There are some instances where the sprayer is not set up to spray material like liquid lime because they come with small nozzles, screens or filters – typically, store bought ATV or smaller 3-point sprayers. They are designed for spraying herbicide and not liquid lime. Removing screens and using larger nozzles will ensure problem-free spraying.
As far as procedure goes, premixing your Liquid Lime is the easiest. A 5-gallon bucket, cordless drill, and a paint mixer work very well in doing this. Fill your sprayer with the desired amount of water to cover your acreage minus about 4-5 gallons. Take a 5-gallon bucket and put about 3 gallons of water in it. Then, add your lime (we will say a gallon) and mix it up with your paint mixer or any kind of mixing device. Then add this lime slurry solution to your sprayer and you’re ready to spray.
Note from Doug: Remember to rinse your sprayer out when you’re done!
What if my soil pH is really bad? Can I use multiple forms of lime?
Yes, you can if you want. We use a term called instant gratification a lot when it comes to Liquid Lime. If you have a new plot or one you haven’t had any success growing a lush crop on and you figure out you need lime, ag lime or even pelletized lime are not going to get you the results you want in a single season. They are slower working products. A good solution may be to adjust rapidly with Liquid Lime and then supplement with ag or pell lime for extended results.
How often does liquid lime need to be applied?
It is an annual use product. Liquid Lime can adjust your pH within a matter of days, but your soil will also buffer back over time sooner.
How does the cost of Liquid Lime compare to other lime sources?
Cost is ultimately dependent on results in a lot of cases. If you have large enough plots where an applicator can come in and apply ag lime for you (10-20 acres) it is probably cheaper to go that route. If you don’t have the means of spreading ag lime and you buy pelletized lime, you will end up spending around $175-350 an acre if you use the needed amount; it’s rare anyone uses the needed amount of pel-lime because of the price. Depending on your soil needs, most people can use Liquid lime for $40-80/acre per year.
What other benefits are there to liquid lime?
We put Liquid Lime in the hands of food plotters because it works! Using the right tool for the right job is what we tell food plotters and, in many cases, Liquid Lime is an excellent tool. Most of us have a limited amount of time to pursue our hobbies and passions as outdoor enthusiasts. Liquid Lime helps you be efficient so you can ultimately provide a better food source for the wildlife you pursue.
Not sure if you need Liquid Lime, or how much you might need? Best way to find out is with a soil test. You can also check out this video for more details about soil testing and the food plotting process. Thanks to Liquid Lime, it’s not too late to adjust your soil pH and get your healthiest soil – and your healthiest plots – yet!
Still have more questions? Leave a reply to this post!
Thanks again to Kenton from Plot Dr. Be sure to follow Plot Dr. on Facebook. Special thanks to Working Class Hunter for the photos. You can keep up with them on Facebook, Instagram, and a whole bunch of other places – check their website for more.
HB Seed Co. and Scrape Line Hunters teamed up with Plot Dr. and Ag Source Laboratories to create this video covering:
If you have questions about any of these topics, be sure to check it out!
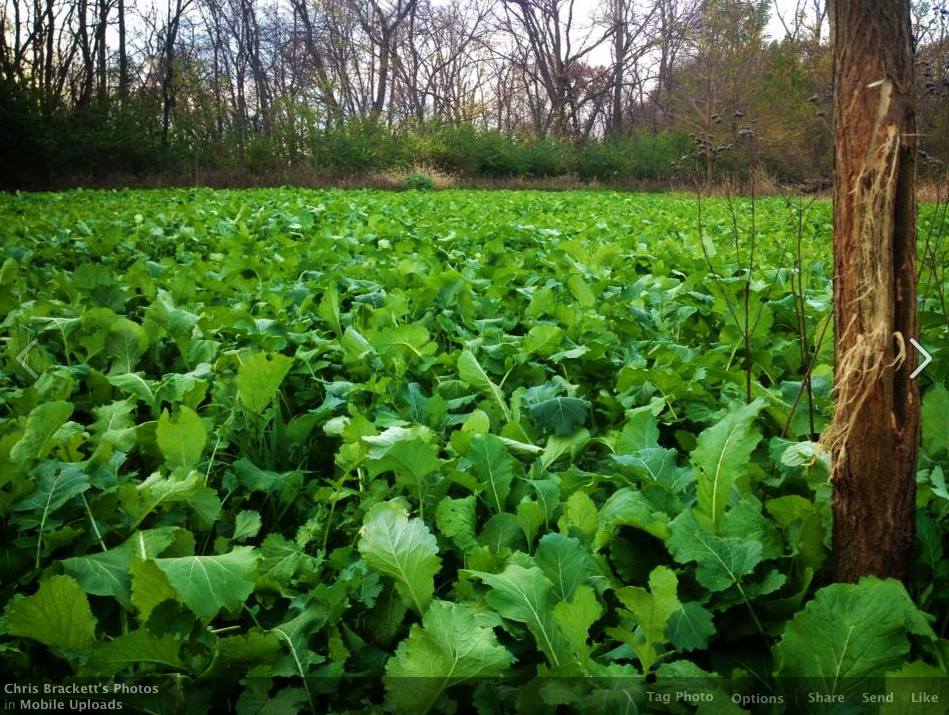
When it comes to food plots, we get a lot of questions about what to do, when. And we get it! It gets confusing. There’s spring plots and there’s summer plots; there’s small kill plots and there’s big food plots. All of these need to be handled differently. And then there’s soil tests, weed control, fertilizer, what KIND of fertilizer… oof!
It’s ok. We’ll walk you through a basic timeline, and then over the next few months we’ll dive deeper into some of these specific steps. Refer back to this as the year goes on to stay on track with your plotting plans. *Note* We do realize this may vary based on where you’re located. If you have specific questions, don’t be afraid to reach out.
Of course, fertilizing and planting are not just two simple last steps and then you’re done. There’s disking, rolling, and making sure you’re not over/under seeding too. Equipment varies, as does the blend you’re planting; we’ll get into those details in another post.
Simple enough, right? Just remember, once you have a location established, the key steps are these: soil test, weed control, fertilize, plant. Oh, we almost forgot…
Got more specific food plotting questions for Doug? See the full schedule of upcoming seminars here. Or simply comment on this post!
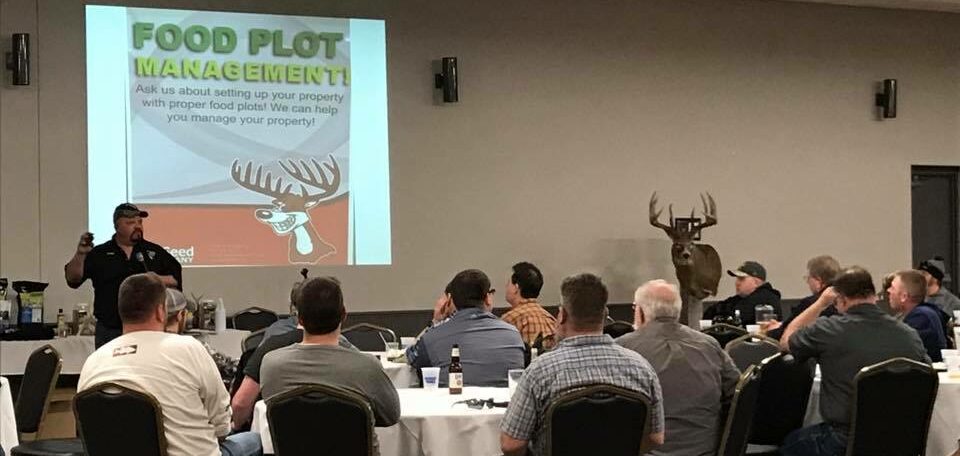
If you missed the Wisconsin State Hunting Expo in Green Bay, don’t worry! There’s plenty of opportunities coming up to visit with the HB Seed Team or hear Doug speak on the topic of food plots. Here is the current expo and seminar schedule; we will post additional details and updates as we get them.
Check back for more info, and we’ll be sure to remind you as events approach. Follow us on Facebook or Instagram to stay up to date!